
Instantly Improve Your Bird Photography
How to Take Photos and Stand Out Like a Pro
Welcome to your free guide on instantly improving your bird photography! I’m Damion, a professional and published wildlife photographer passionate about capturing the beauty and personalities of birds through the lens of my camera.
Whether you're just starting out or looking to refine your skills, this guide is packed with practical tips that you can start using right away to take your bird photos to the next level.
Bird photography is about more than just pressing the shutter button—it’s about timing, technique, and connecting with your subject. From mastering golden hour lighting to capturing unique bird behaviors, the following tips will help you create stunning images that stand out.
I’ve compiled tons of techniques I’ve learned, through trial and error, from countless adventures into this easy-to-follow guide to help you achieve professional-quality bird shots that will truly impress. Ready to elevate your bird photography? Let’s dive in!
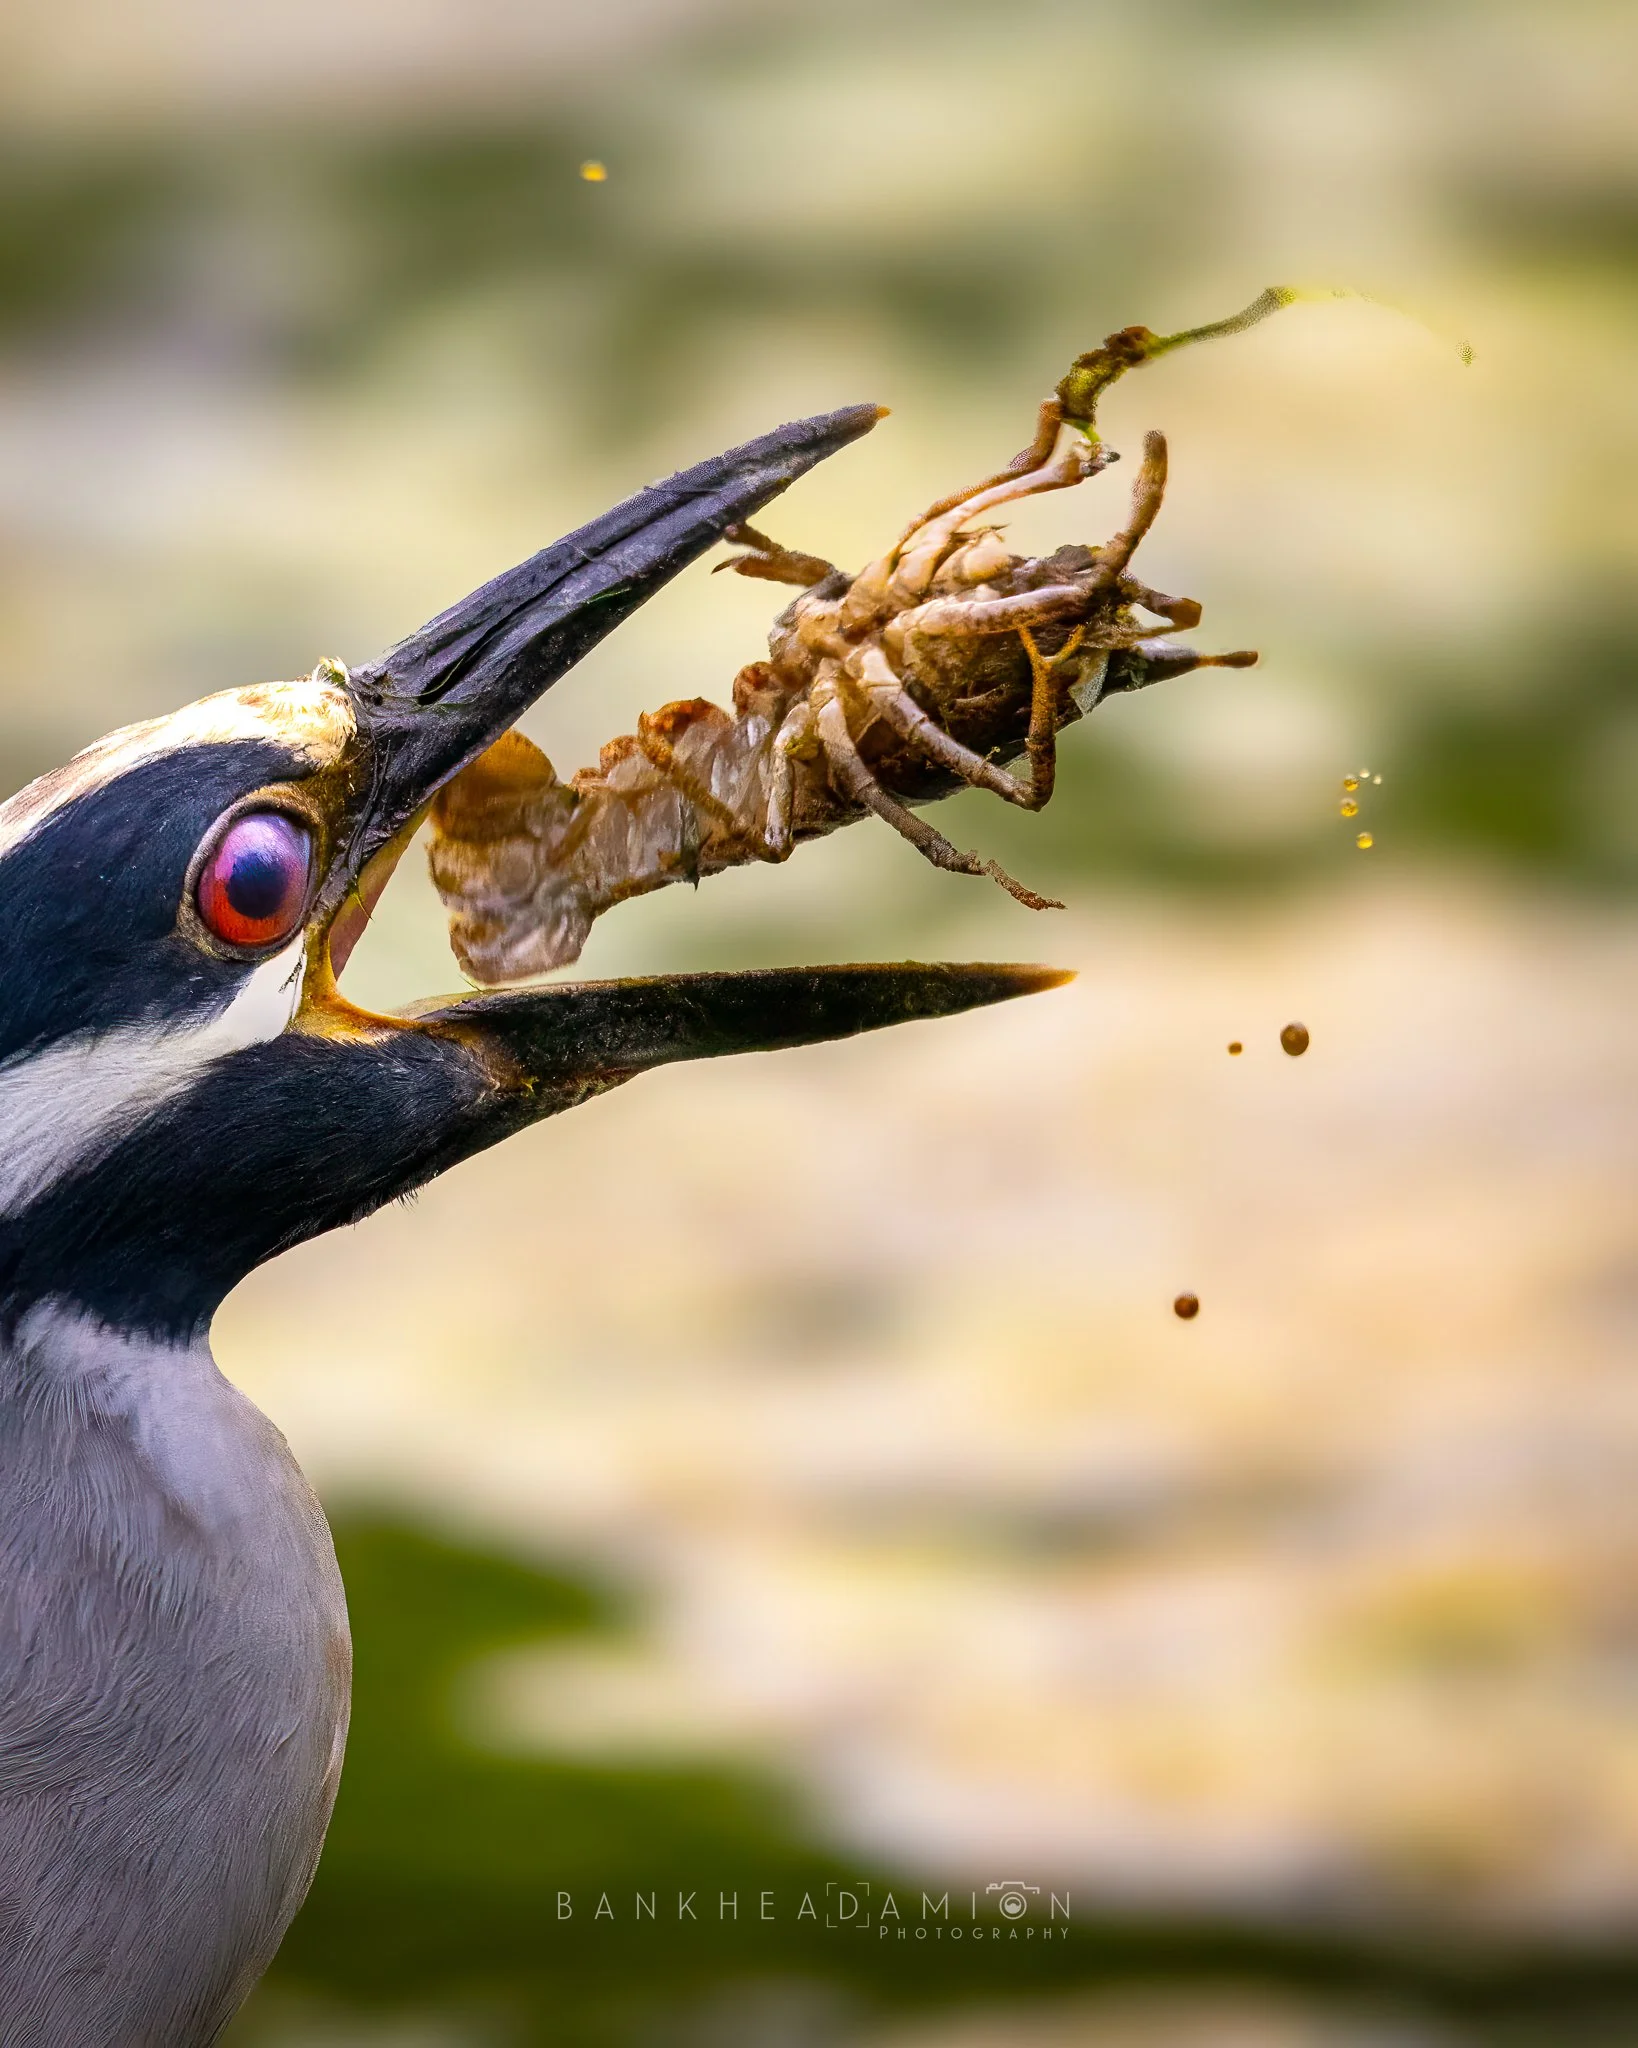
1. Capture Unique Behavior
Birds are full of fascinating personality and dynamic actions. I like to be patient so that I can find those perfect compelling moments such as:
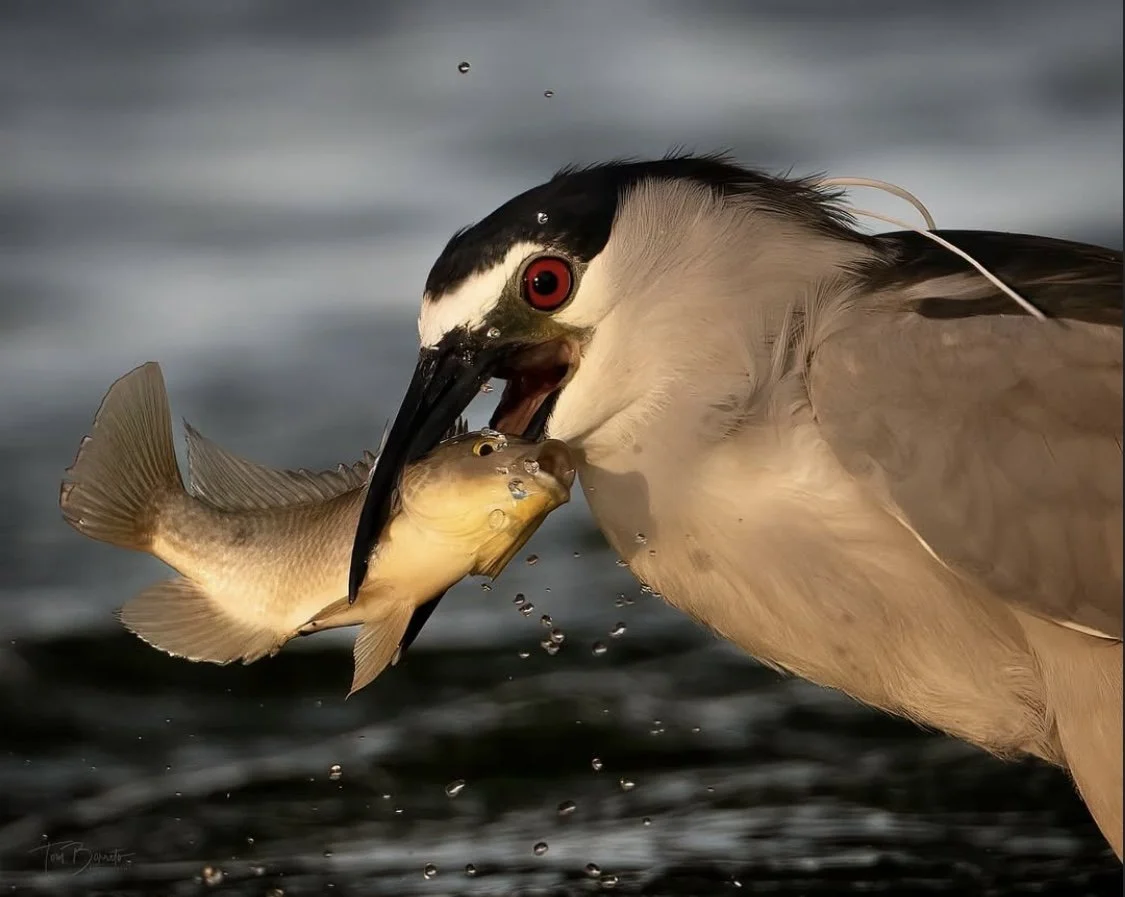
Feeding — Like this Night Heron eating a crawfish or action shots of a bird catching a bug midair or pulling a worm from the ground create dramatic storytelling.
Preening — Capture feathers fluffed out and water droplets spraying when birds clean themselves.
Interacting — Parent birds feeding chicks or birds engaging in territorial disputes offer emotional and vibrant scenes.
Pro Tip: Spend time observing your subject. Getting quick shots is always great, but I’ve learned that learning their habits to predict movement always creates the perfect action shot.
A keen eye for behavior adds life and intrigue to your photos, making them more engaging for viewers.
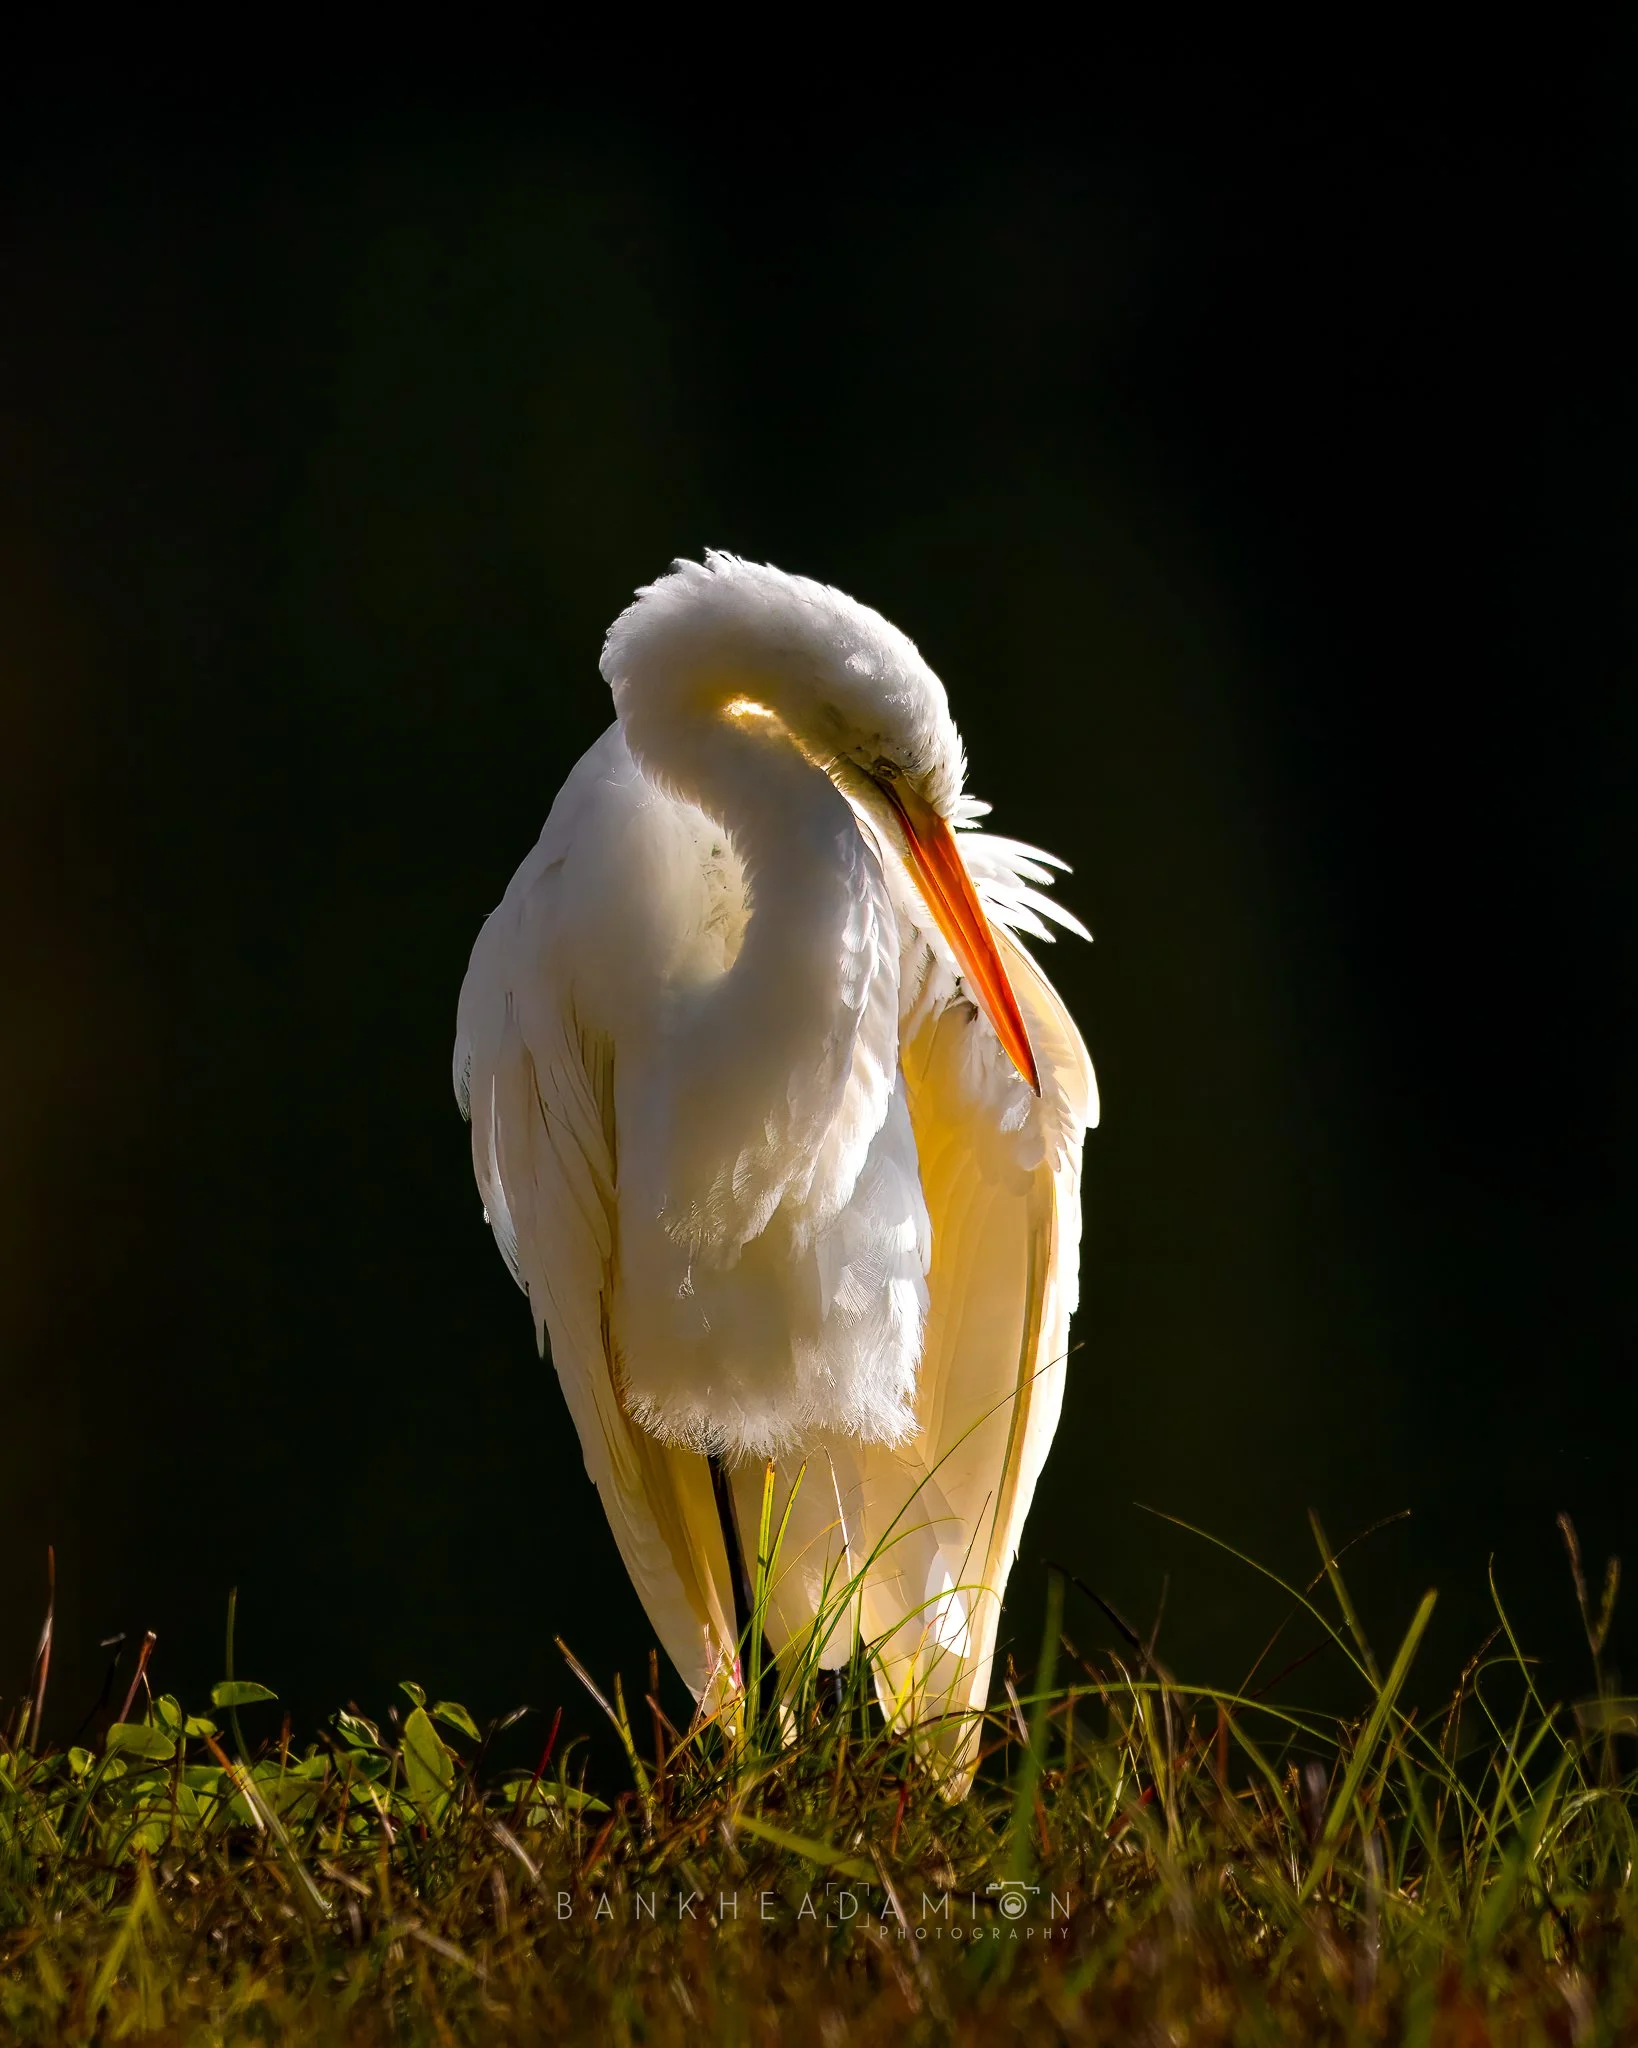
2. Use Golden Hour Lighting
The quality of light can make or break your photo. The best times, and my favorite times, for shooting are during the first hour after sunrise and the last hour before sunset, known as golden hour. This warm, soft light:
Enhances the intricate feather details and vibrant colors of birds.
Creates a natural, flattering glow and pleasing shadow contrasts.
Pro Tip: Position the light source behind you so that it illuminates the bird fully. Shooting with direct sunlight can reduce harsh shadows and add brilliance to the eyes.
When used strategically, golden hour light gives your images a magical touch and depth.
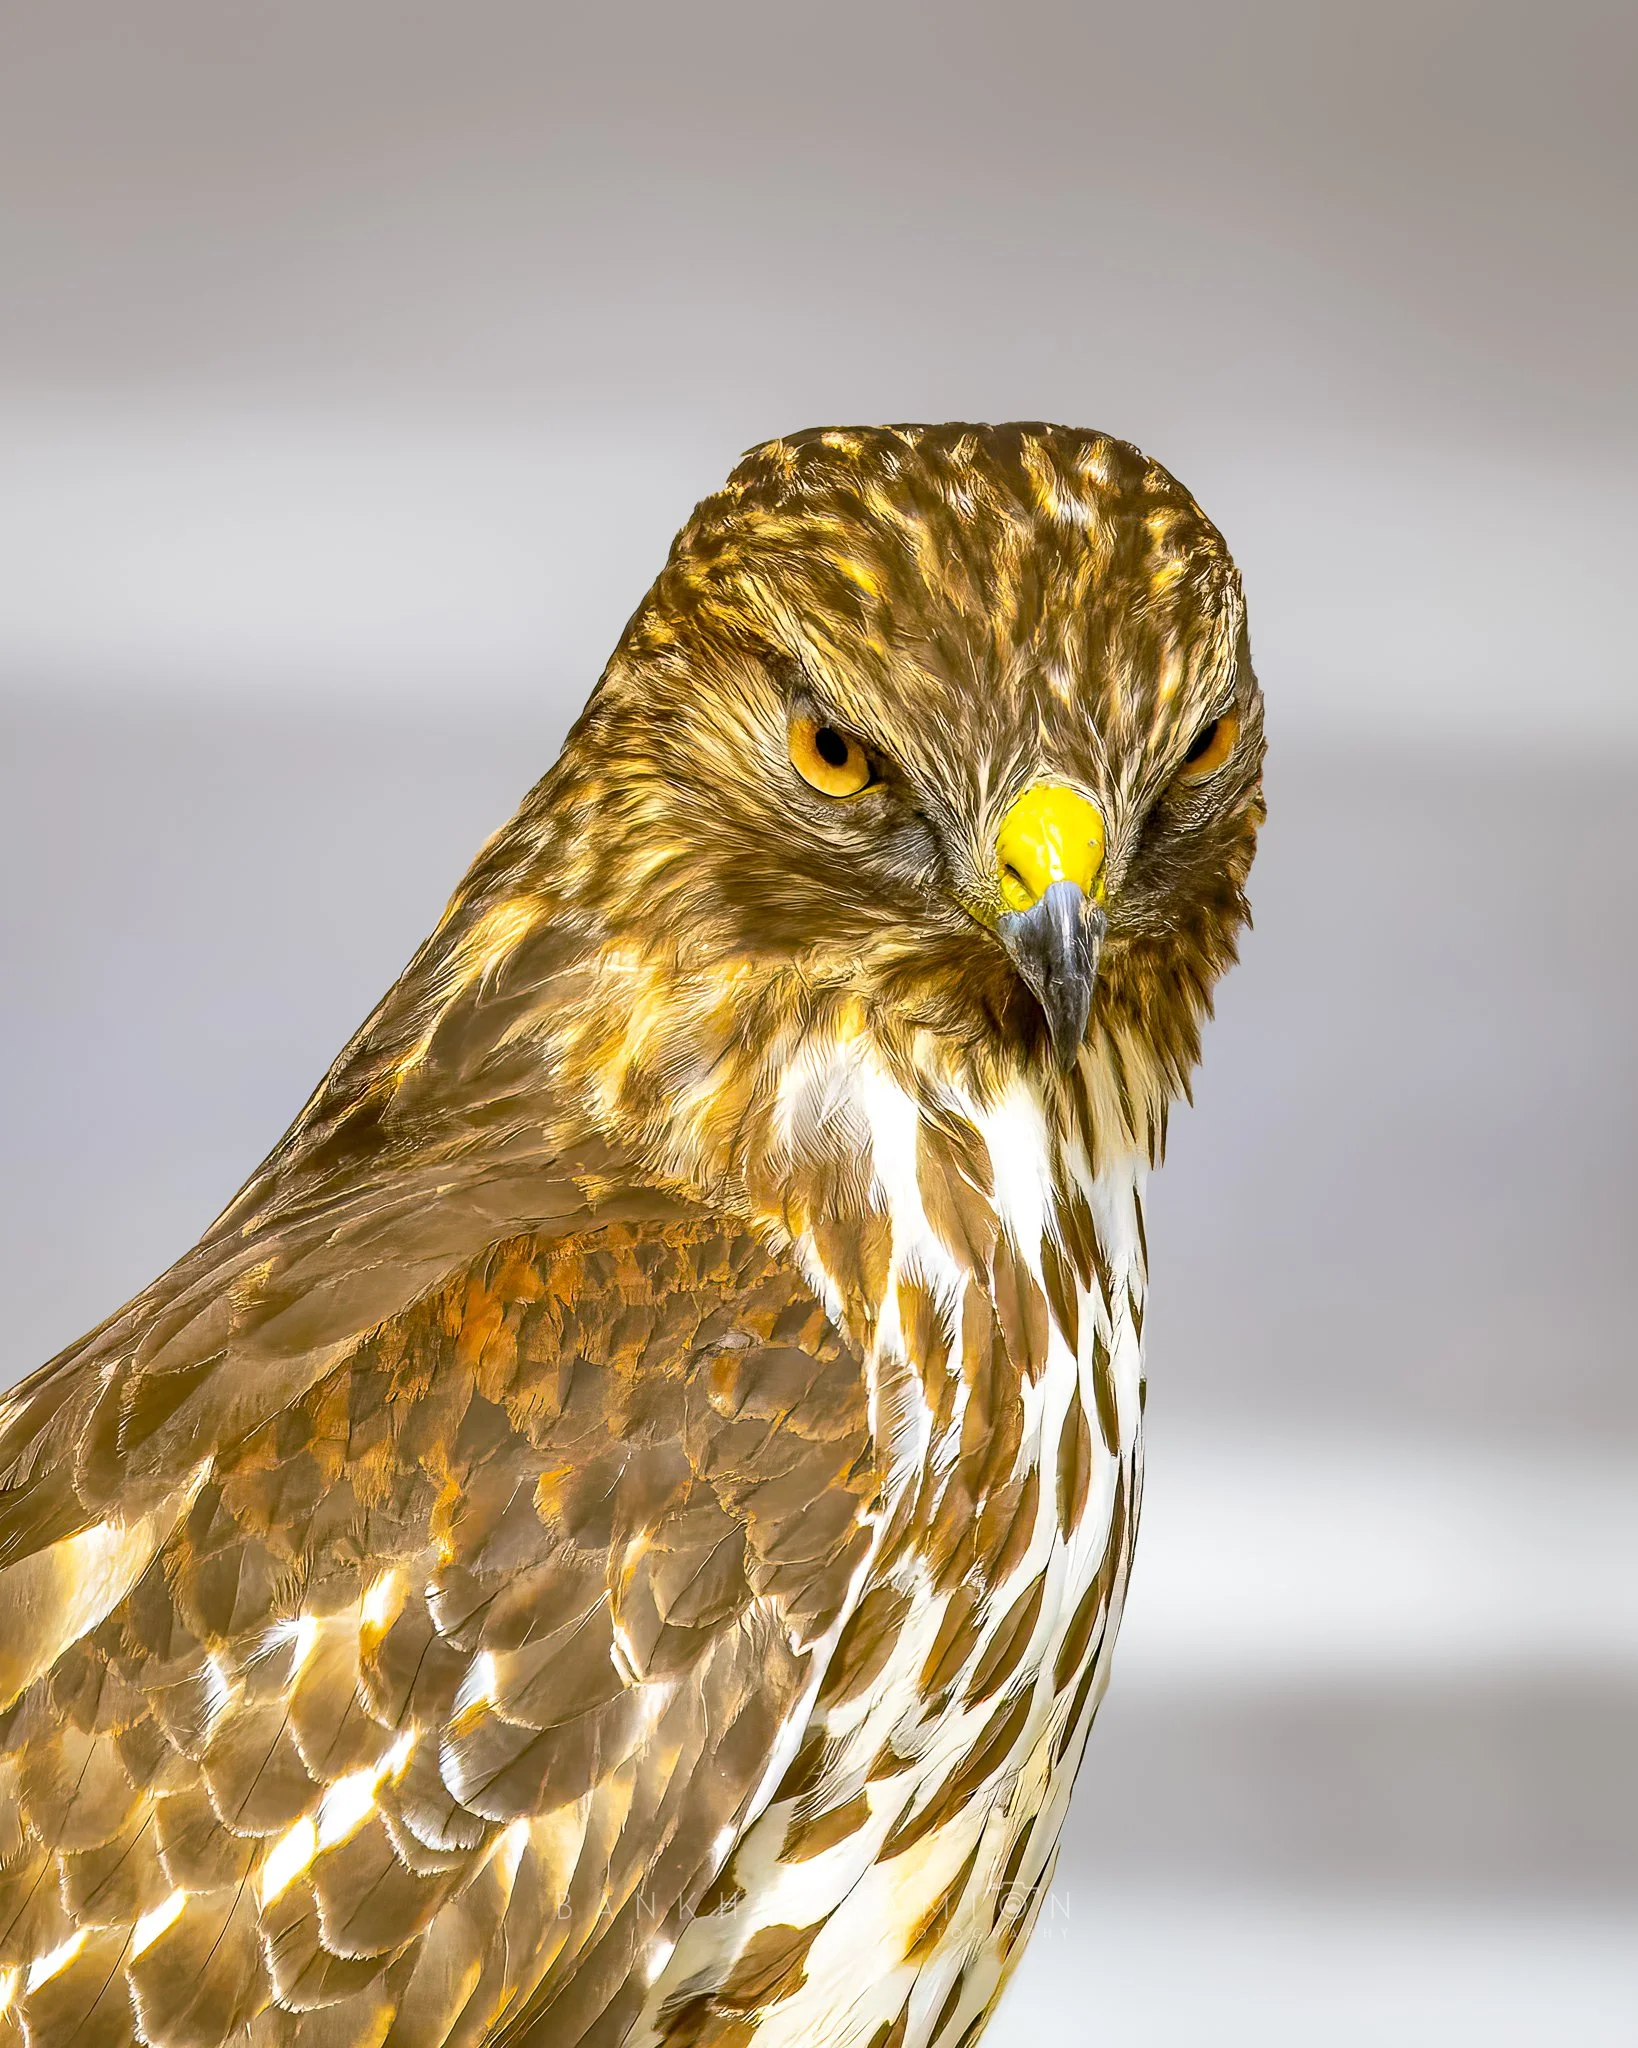
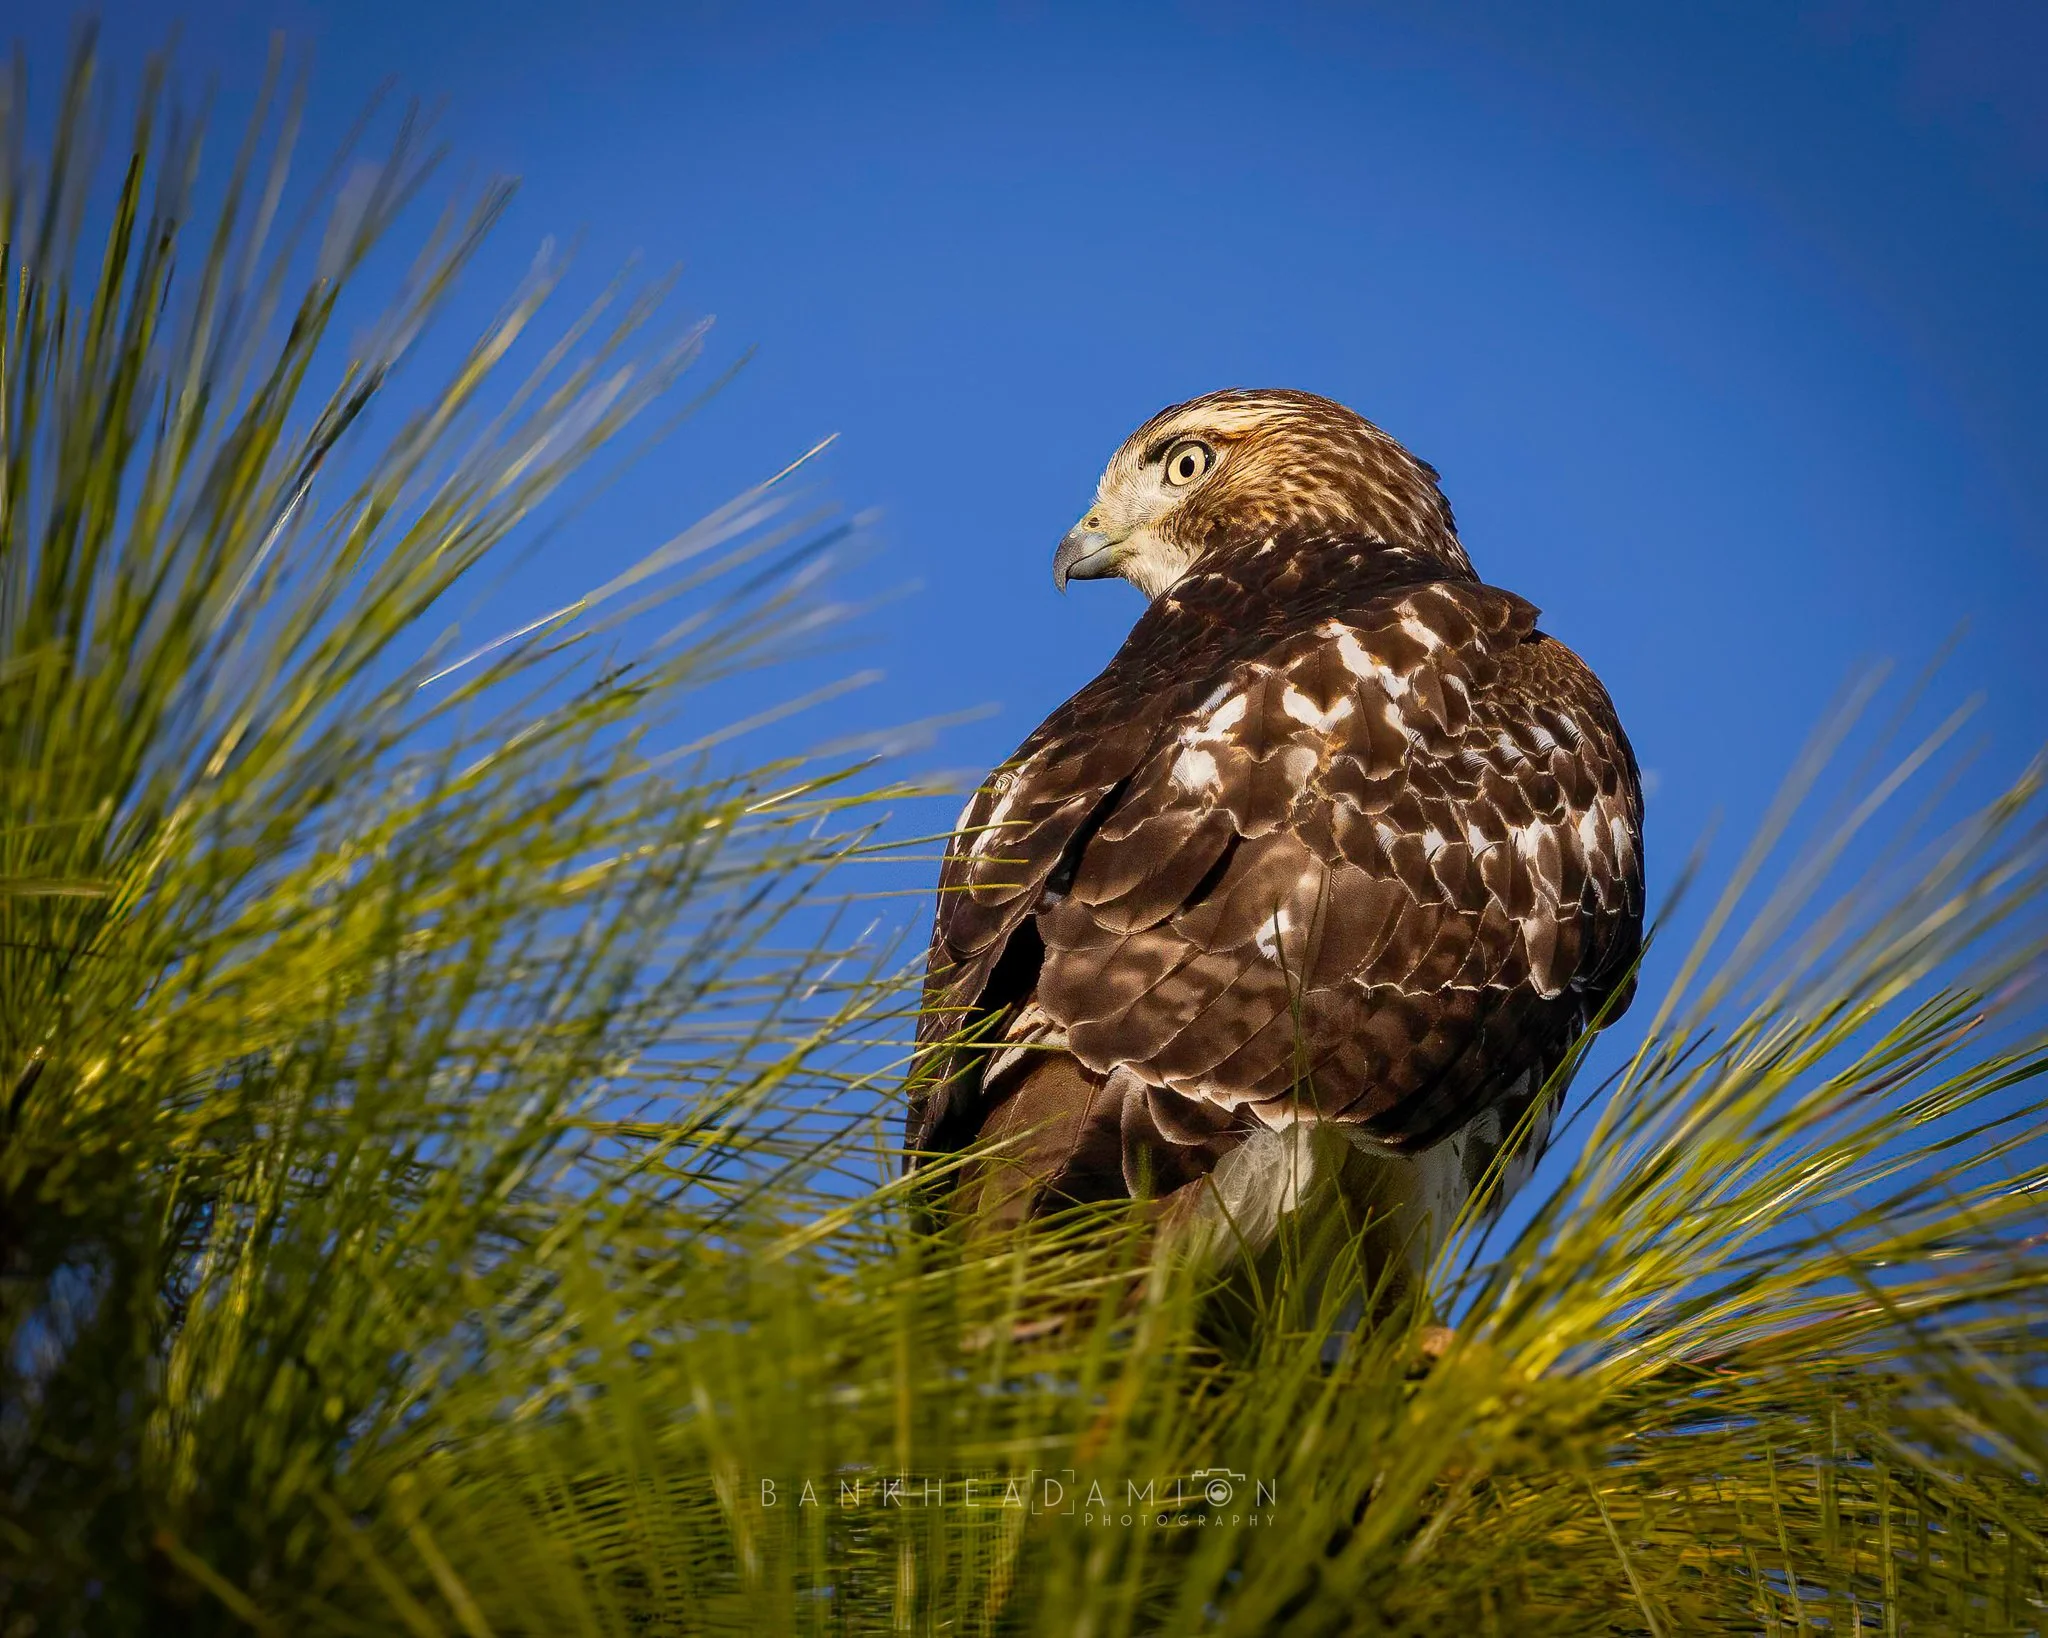
3. Eye-Level Composition
Listen, perspective matters. Shooting from the bird’s eye level creates an intimate and engaging connection with your subject. This photo I captured of a Red-Shouldered Hawk right after it devoured a tasty lizard is a great example of this.
Eye-to-eye shots immerse the viewer in the bird’s world, adding emotional resonance and depth to the composition.
Pro Tip: It may suck, but to be like the pros, you have to do what the pros do. Get down low by lying on the ground or crouching. In water scenes, use a ground pod or kneel to align with your subject’s gaze.
This simple shift in viewpoint transforms your photos from passive observations into powerful stories.
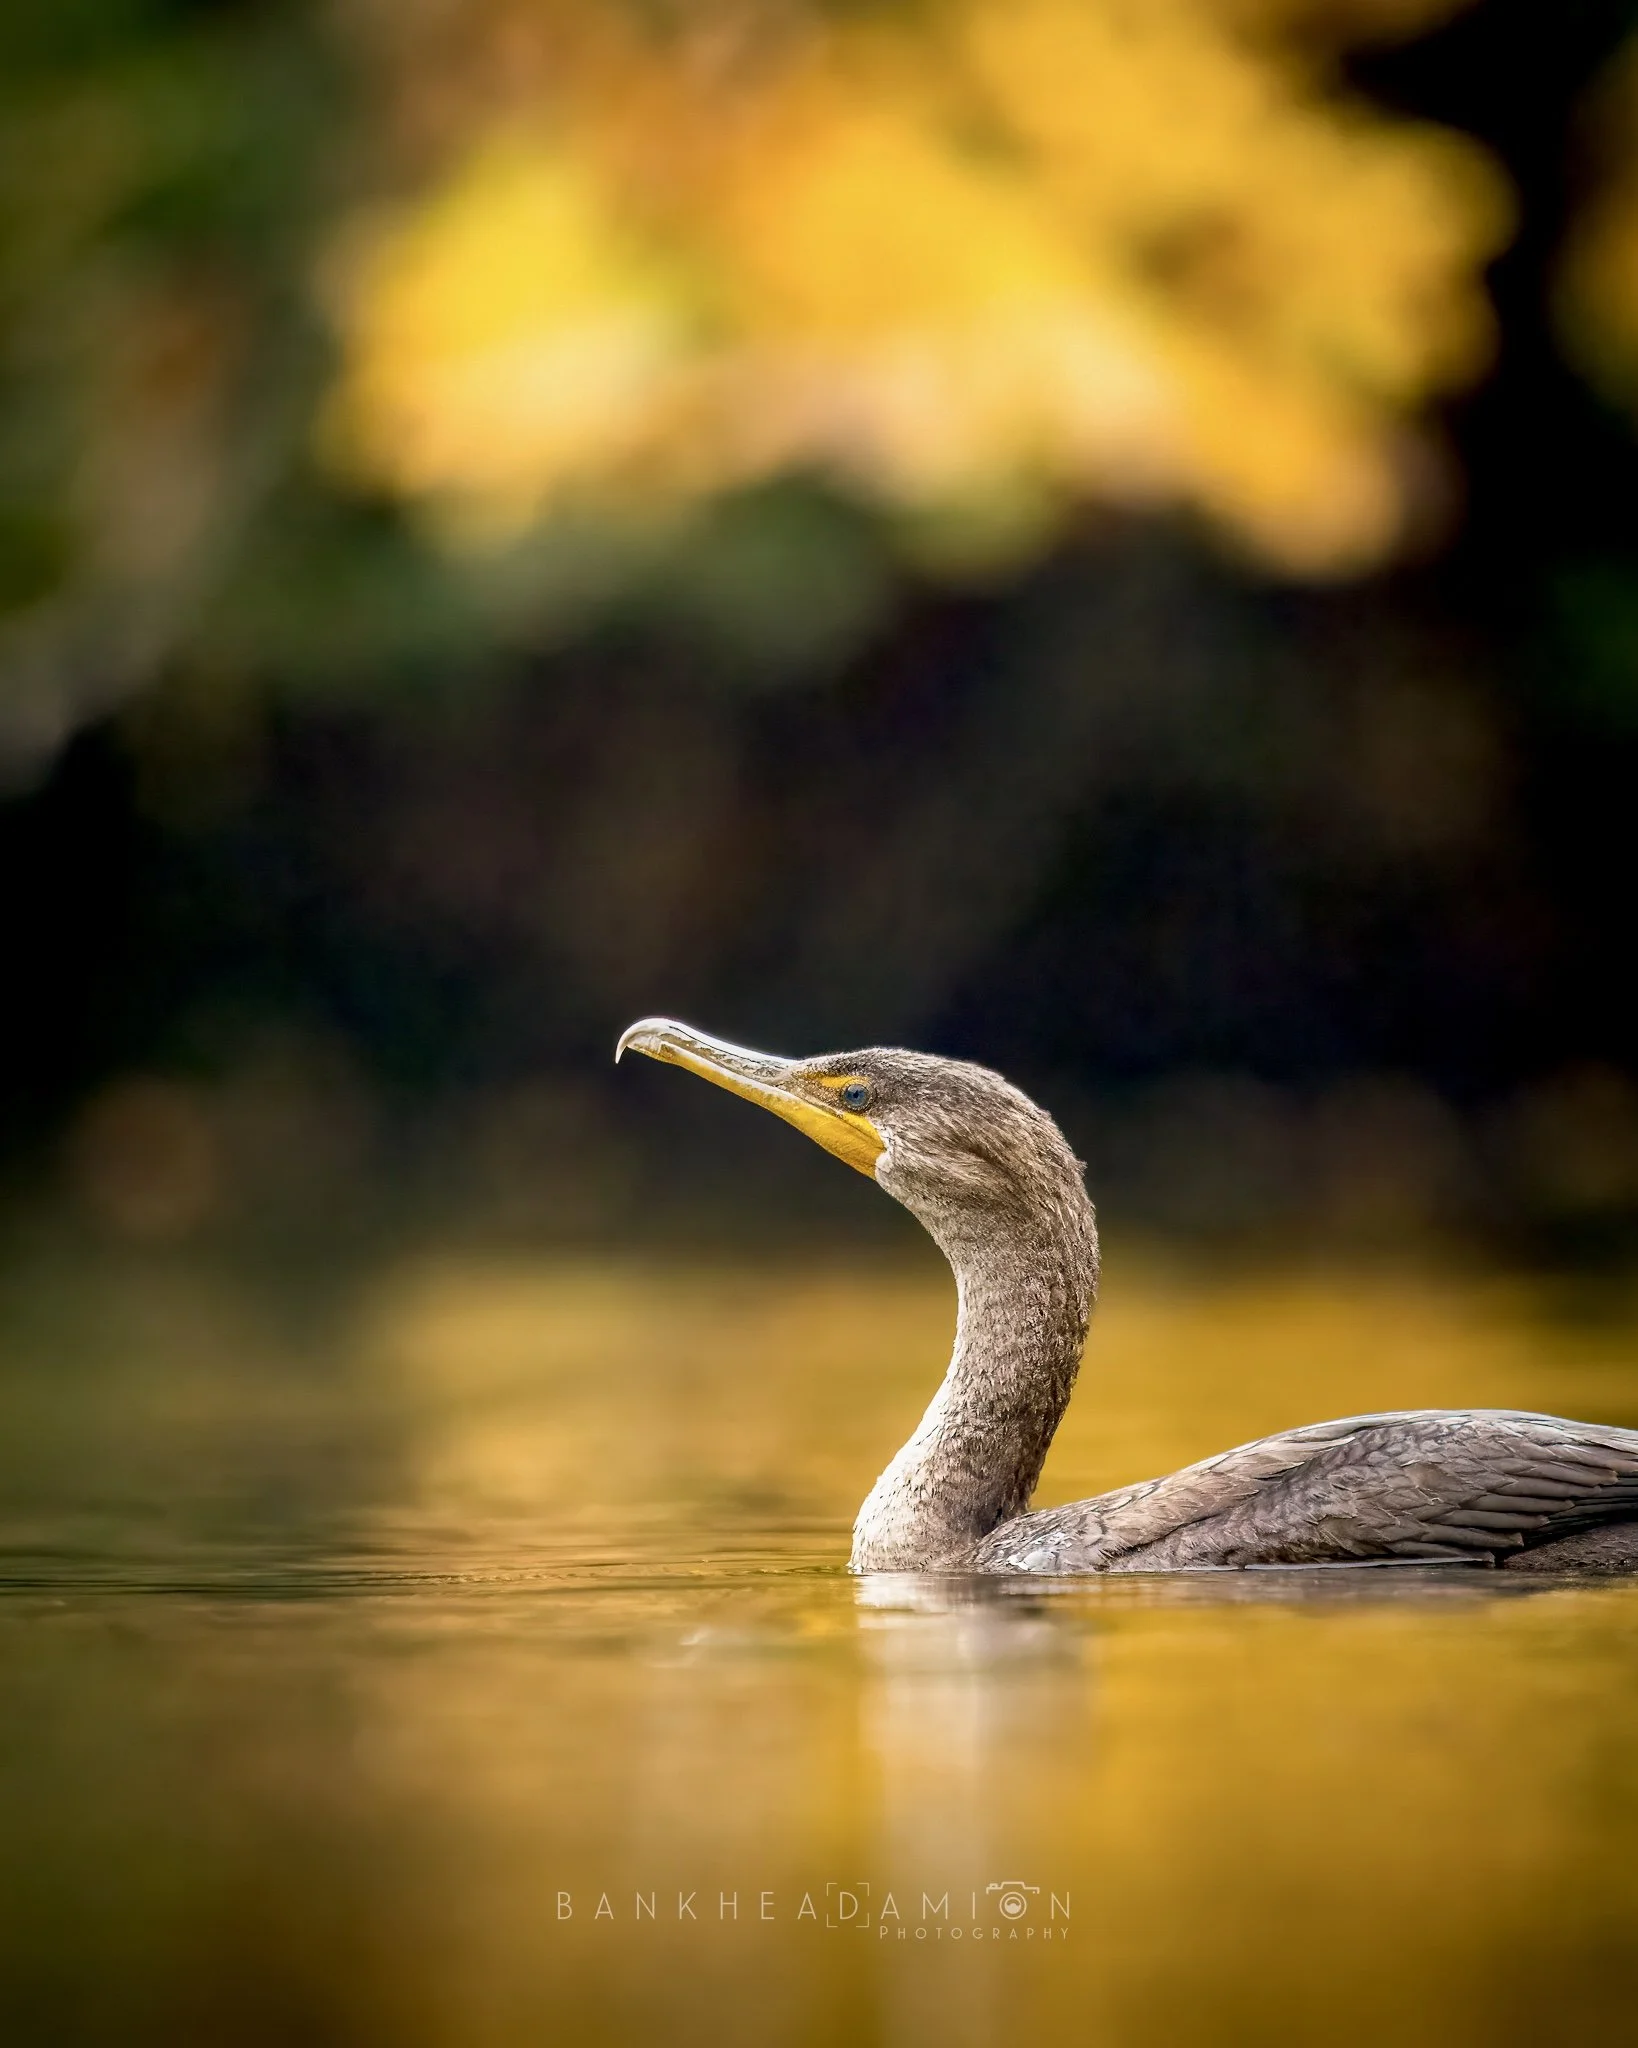
4. Blur the Background (Bokeh)
An uncluttered background keeps the focus where it belongs—on the bird. Look at this photo I captured of a Double-Crested Cormorant. The background is smooth and appealing to the eye, even though it’s make up of trees and brush by the bank of a lake.
Use a wide aperture (f/5.6 or lower) to achieve a shallow depth of field.
Maximize the distance between your subject and the background to enhance the bokeh effect.
Pro Tip: You can also add extra depth by incorporating soft foreground elements like leaves or grasses, gently framing your subject.
A blurred background brings clarity to the subject while adding visual appeal with dreamy textures. I personally love a beautiful, milky bokeh.
5. Master Composition
Something I’ve dealt with, and still deal with, are finding the best compositions. Strong composition guides the viewer’s eye and makes your photo memorable. Try these techniques:
Apply the rule of thirds by placing the bird’s eye or beak at an intersection of imaginary grid lines.
Leave ample space in the direction the bird is looking or moving.
Pro Tip: Symmetry can be striking, but reserve it for perfectly balanced shots. In most cases, dynamic framing creates more energy.
Experimenting with angles, framing, and balance can turn an ordinary shot into a captivating masterpiece. Try not to spend too much time on this. The beautiful thing about art is that there really is no right or wrong way. It’s what looks best to the artist, you.
6. Highlight Unique Details
Birds have intricate textures and vivid features that deserve attention. I waited for this beautiful Northern Flicker, my favorite woodpecker, to land in a way where its golden feathers were in view to show why it’s called the Yellowhammer. Try to direct focus details like:
The fine detail of feather patterns and color gradients.
Beak textures that reflect character.
The striking, expressive eyes that captivate viewers.
Pro Tip: Always ensure the bird’s eye is in sharp focus. A tack-sharp eye is the hallmark of professional wildlife photography. If your bird is known for a specific detail, make sure you capture that detail as best as you can.
Adding fine detail draws the audience deeper into your image, allowing them to appreciate the beauty and complexity of the subject.

7. Use Continuous Shooting and Continuous Autofocus
Birds are fast and unpredictable, making it easy to miss key moments. It took me the longest time to figure out continuous shooting and autofocus modes. Let me help you save some time. To increase your chances of capturing sharp, dynamic shots:
Enable Continuous Shooting Mode: Also known as burst mode, it lets you capture multiple frames per second.
Activate Continuous Autofocus: This keeps moving subjects sharp. Manufacturers use different names:
Canon: AI Servo
Nikon: AF-C (Continuous Servo)
Sony: AF-C (Continuous Autofocus)
Fujifilm: AF-C (Continuous Focus)
Olympus/Panasonic: C-AF
Pro Tip: Reviewing a sequence of images lets you choose the most compelling frame for a perfect bird shot! Always refer to your camera's manual for specific settings.

8. Focus on the Eyes
The eyes are the soul of your bird photograph. If the eyes are sharp and well-lit, the image will feel alive and engaging.
I’m not saying that if you don’t get the eye in focus, you won’t have a good shot. I’m saying that if you don't get the eye in focus, you won’t have a great shot [if the eye is part of the frame].
Pro Tip: Use single-point autofocus and lock it on the eye for precision. Good eye contact draws viewers into the photo and creates a powerful emotional connection.
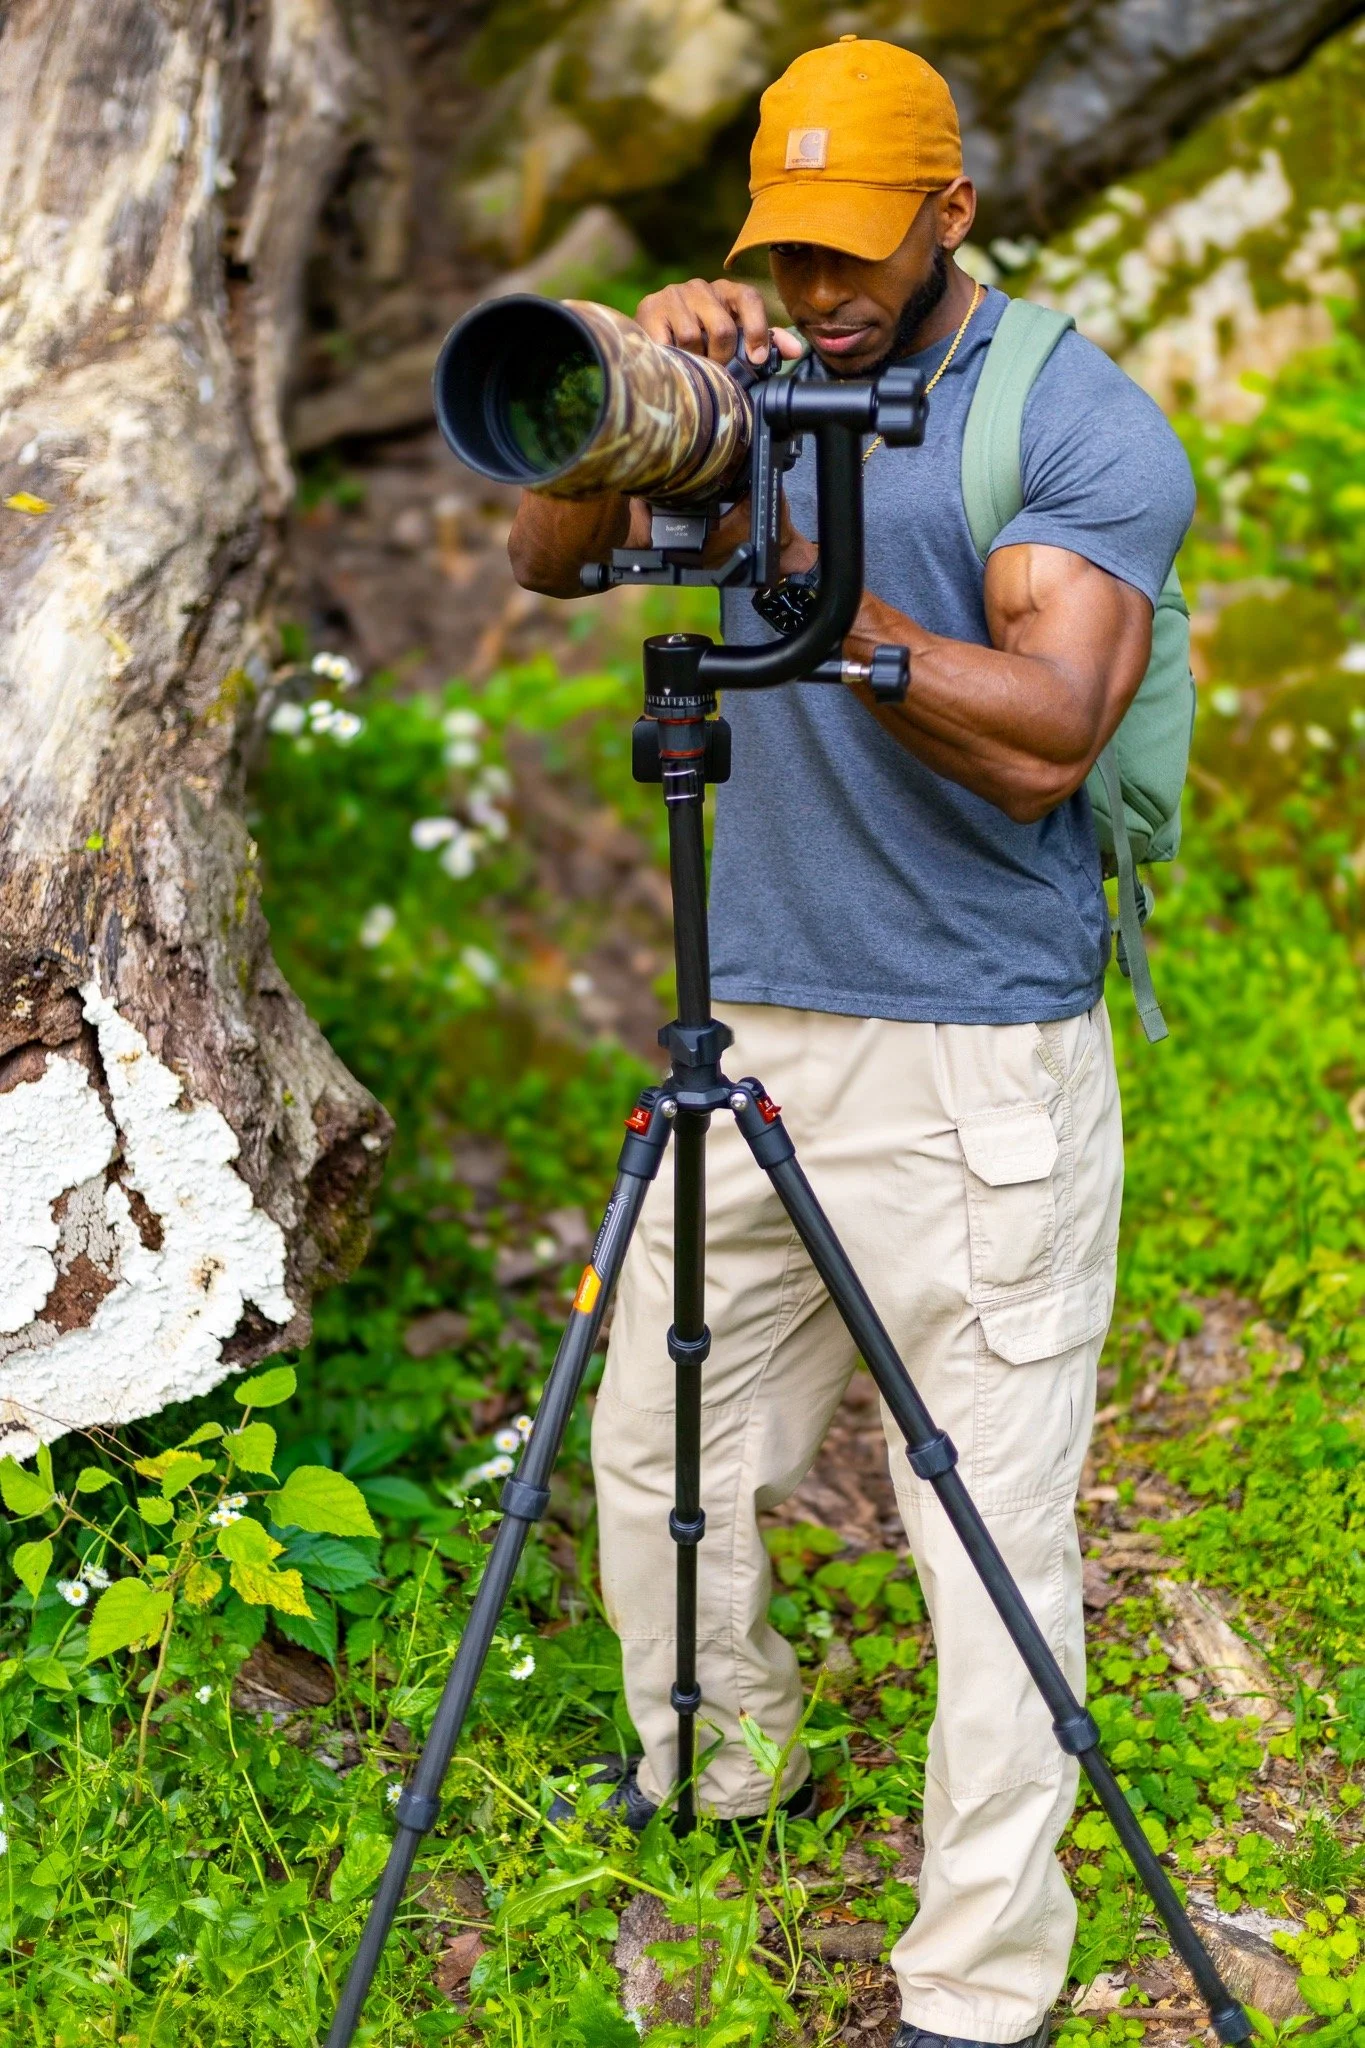
9. Stay Steady with a Tripod or Monopod
Camera shake can easily ruin the sharpness of your bird photos, especially when working with telephoto lenses or shooting in low light. Stabilizing your gear is essential for capturing tack-sharp images, even when photographing fast-moving birds.
Monopod: A lightweight monopod offers flexibility and mobility, allowing you to quickly adjust to changing scenes while still providing stability.
Tripod with Gimbal Head: A tripod equipped with a gimbal head provides superior control, especially when tracking birds in motion. The gimbal allows for smooth panning and tilting, making it easier to follow the bird without compromising sharpness.
Pro Tip: Another stabilizing technique I learned from one of my favorite photographers-Press down on the lens and press the eyecup firmly against your eyebrow area.
This practice helps you maintain crystal-clear shots, even at lower shutter speeds, while minimizing the impact of hand movement. Remember, the steadier your camera, the sharper your image!
10. Learn to Anticipate Action
The more time I spend, in the field, the more I learn about different bird’s different behavior. Things like knowing that a duck is about to give you a beautiful display of standing on the water and drying its wings after it dips its head underwater several times.
Or that certain birds usually come back to the same perch after going for and insect or a drink of water.
Experience and observation teach you when to expect key moments like takeoff, feeding, or interaction. Learning these little things have made the biggest differences in my photography.
Tip: Patience and practice build intuition. Spend time studying birds' body language to predict behaviors and be ready to capture decisive moments.
Thank you so much for taking the time to read through this guide!
I hope these tips help you take your bird photography to new heights and inspire you to capture stunning moments in the wild. If you found this guide helpful, I’d love for you to stay connected!
Be sure to follow me on social media to see my latest work, birding adventures, and behind-the-scenes tips. And don't forget to join my email list—you’ll be the first to know about upcoming workshops, photography tips and guides, birding trips you can join, exclusive discounts on prints, and much more. Plus, I’m always here for one-on-one assistance to help you grow in your bird photography journey!
Stay tuned, and I can't wait to see you improve and excel in capturing breathtaking bird moments!
God bless!
Damion
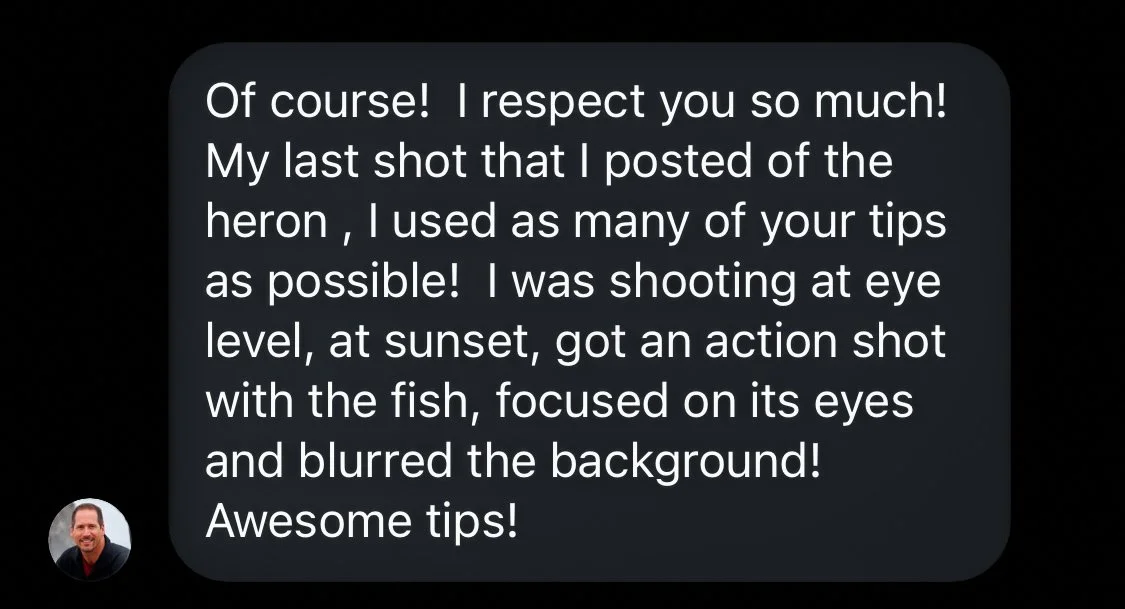
Tom B., Instagram @visionpix2020
Share YOUR WORK!
You’ve gone through the guide—now it’s time to bring it to life! Don’t just read it; let’s see what you can create. Using the techniques from this guide, capture something that speaks to you and tell me the story behind your photo. What inspired it? How did you use the techniques to bring your vision to life?
I’d love to see your work and give you any feedback I can. Plus, your photo might even be featured in my mailing list or on my social platforms, reaching thousands of viewers.
Share your photos with me on any of my social accounts or email them directly to photos@damionbankheadphotography.com.
I can’t wait to see the art you create!